How to Install a Channel Drain for Effective Water Management?

Installing a channel drain is crucial for effective water management. Water often accumulates in unwanted places. A well-installed channel drain can prevent flooding and erosion. John Smith, an expert in drainage systems, once stated, "A channel drain can be the difference between a dry yard and a muddy mess."

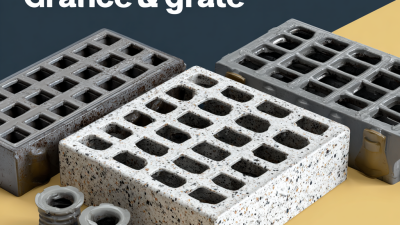
Choosing the right type of channel drain can be overwhelming. Many factors play a role, such as the material and size. It’s easy to overlook the importance of proper installation. Improperly placed drains can lead to water pooling. This might require you to redo your work, causing frustration and extra cost.

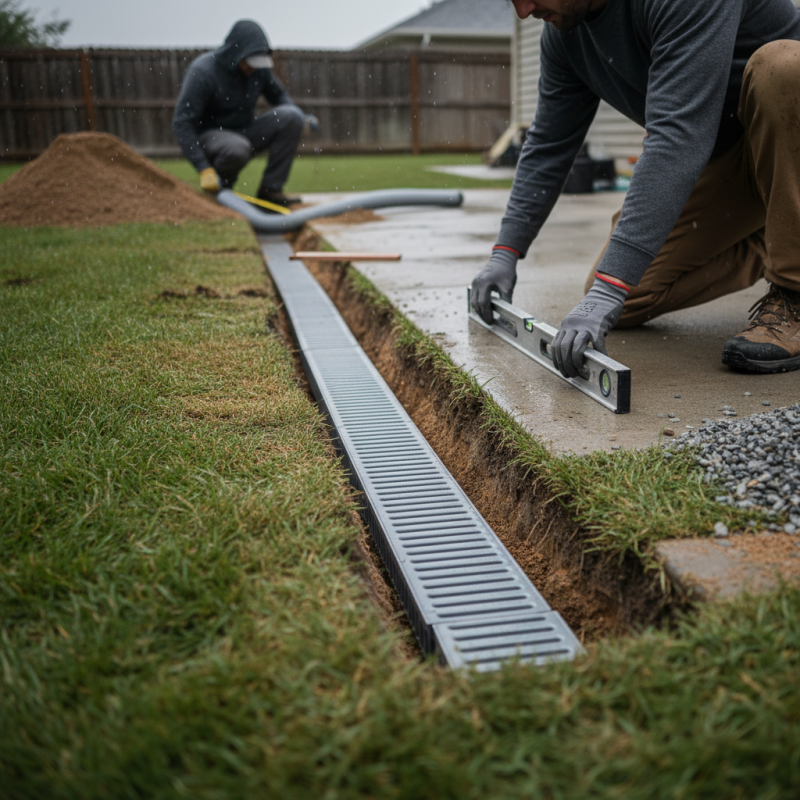
Being mindful during installation is essential. Measure twice and cut once. Ensure the slope directs water into the drain. Yet, even experts can face challenges. Perhaps the weather isn't suitable, or tools fail. Reflecting on these moments helps improve future installations. Balancing precision with adaptability is key in creating an effective water management system.

How to Install a Channel Drain for Effective Water Management?

Understanding Channel Drains and Their Purpose

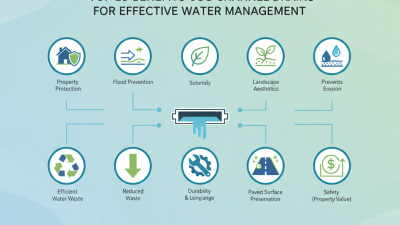
Channel drains serve a vital role in effective water management systems. Their purpose is to direct surface water away from areas where it can cause damage or create hazards. According to a report by the American Society of Civil Engineers, nearly 60% of urban flooding is attributed to poor drainage systems. This highlights the increasing necessity for efficient drainage solutions.


Installing a channel drain can significantly reduce the risk of water pooling in yards and driveways. One common installation area is alongside driveways. The channel collects water and guides it to a suitable drainage point. Many homeowners underestimate how much water can accumulate during heavy rains. This often leads to erosion and landscaping issues. Data from the National Oceanic and Atmospheric Administration shows that rainfall intensity is rising, which exacerbates drainage problems.


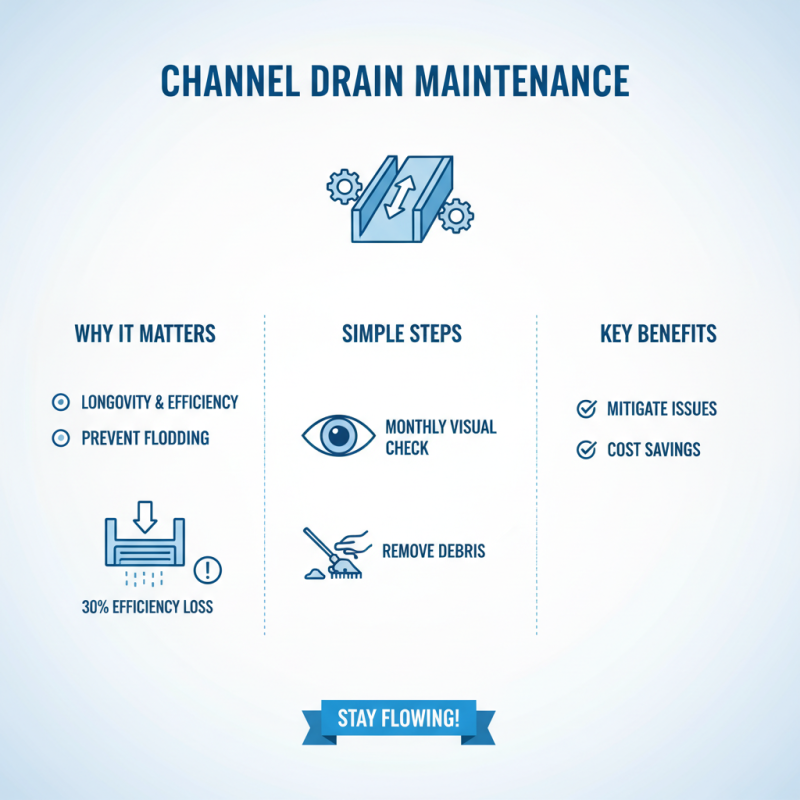
Although channel drains can be effective, oversights in installation can diminish their efficiency. Installing them at the wrong angle can lead to water backing up instead of flowing away. Regular maintenance is crucial to keep them functional. Debris can easily block channels, rendering them ineffective. It's clear that understanding the purpose of channel drains is the first step in achieving proper water management for any property.

Selecting the Right Location for Installation

Selecting the right location for a channel drain installation is crucial for effective water management. The placement should ideally be at low points in the landscape. This helps to direct water flow away from structures. According to industry studies, improperly placed drains can lead to water accumulation, causing potential structural damage. A misstep in location can undermine the entire drainage system.

Consider measuring the slope of your yard. A slope of at least 1% is recommended for optimal drainage. If the area has stagnant water issues, evaluate how water flows during heavy rains. This assessment can reveal patterns in water movement. It’s important to maintain distances from fences and building foundations. This prevents drain clogs and ensures longevity.

Be mindful of vegetation. Trees and shrubs can disrupt the flow of water. Root systems can invade drainage systems, making maintenance tough. Some estimates suggest that improper drain placement can increase maintenance costs by up to 30%. It is vital to consult local regulations. This ensures that your installation complies with water management guidelines. Balancing aesthetics and functionality can be challenging, but the right choice makes a significant difference.

Water Management Effectiveness: Channel Drain Installation

Gathering Necessary Tools and Materials

When planning to install a channel drain, gathering the right tools and materials is essential. You will need a shovel for digging, a level to ensure proper drainage, and a rubber mallet for fitting pieces together. A tape measure is crucial for accurate measurements. You might consider gloves to protect your hands while working.


It's important to choose the right type of channel drain that suits your project. Look for materials that fit your drainage needs. Not all drains are created equal. You may need gravel or sand for proper drainage around the channel. Ensure you have enough on hand, as running out mid-project can be frustrating.


Don’t overlook safety gear. Sometimes, installation can be messy. Dirt and debris can cause slips or scratches. You might want a bucket for leftover soil. However, remember, even with the best preparation, things can go wrong. A miscalculation in measurements might lead to uneven drainage. Thus, take your time and double-check everything before digging.

Step-by-Step Installation Process of a Channel Drain

Installing a channel drain is essential for effective water management. The right preparation can make the process smoother. Start by marking the drain's location. Ensure it aligns with the slope of your yard. This will help direct water away from problem areas.

Next, dig a trench approximately 4-6 inches wide and about 12 inches deep. Be mindful of existing utilities. Once you’ve dug the trench, lay the channel drain in place. Check the slope; it should be a slight decline towards the outlet.

Tips: Use a level to confirm the slope. A misaligned drain can cause pooling. Fill gaps with gravel for additional drainage support. After the installation, cover the top with grates. Regularly check for debris buildup. This can hinder water flow.

Water management is crucial. Ensure you have addressed all potential issues. Rushing can lead to mistakes. Take your time with each step, ensuring everything is secure. This careful approach will pay off in the long run.

How to Install a Channel Drain for Effective Water Management?

Step Description Tools Required Estimated Time
1 Plan the location of the channel drain based on water flow. Measuring tape, marker 30 minutes
2 Dig a trench according to the drain’s specifications. Shovel, level 1 hour
3 Add gravel to the bottom of the trench for drainage. Gravel, shovel 30 minutes
4 Place the channel drain in the trench and connect sections. Channel drain, connectors 1 hour
5 Fill the trench with gravel and backfill around the drain. Shovel, gravel 45 minutes
6 Test the drain with water to ensure proper flow. Hose, water 15 minutes

Maintaining Your Channel Drain for Longevity and Efficiency

How to Install a Channel Drain for Effective Water Management?

Maintaining your channel drain is crucial for ensuring longevity and efficiency. Regular inspection helps identify any blockages or damage. According to industry reports, poorly maintained drains can lose up to 30% efficiency over time. A simple visual check once a month can mitigate potential issues. Debris accumulation can lead to backups, which may cause flooding.

Tips: Clear leaves and debris regularly. This small action can save significant repair costs later. Additionally, check for cracks in the drain. These can undermine its structural integrity and lead to drainage failures.

It's important to understand that even high-quality drains can fail without proper upkeep. Water flow can become restricted, impacting the areas you wish to protect. According to drainage management studies, maintaining clear channels can reduce water pooling by up to 50%. Regular cleaning of your channel drain once every season is not just recommended, but essential. It's easy to overlook, but neglecting this task can lead to more frequent and costly repairs.